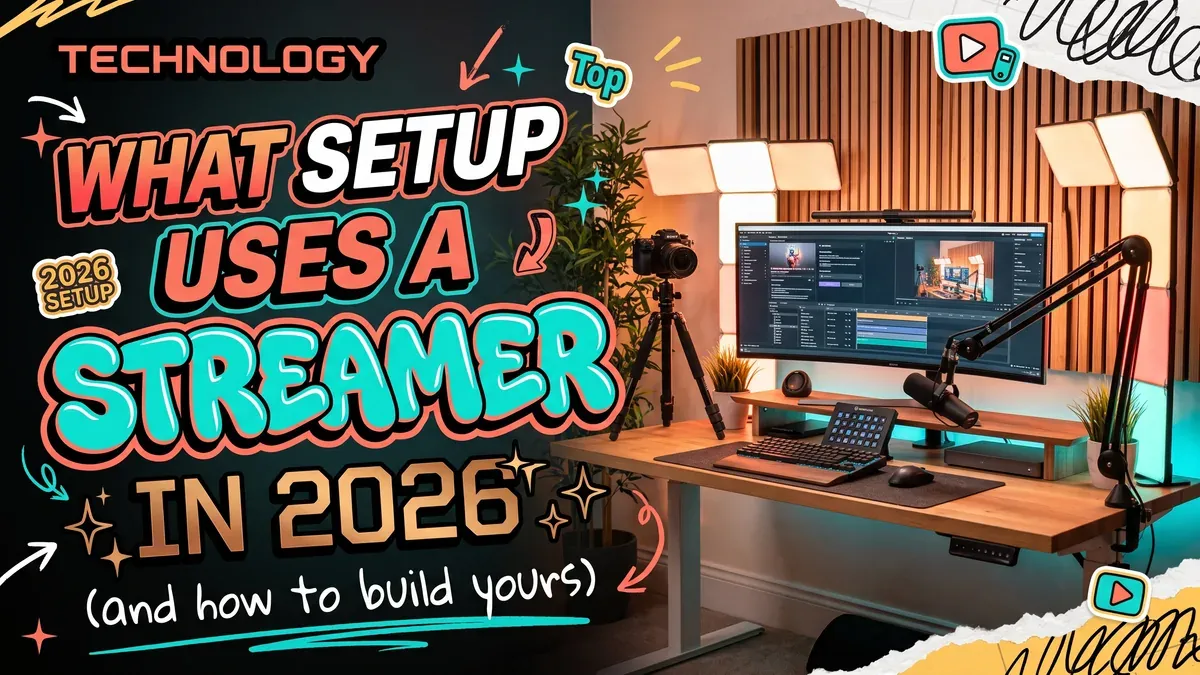
A streamer’s setup is not bought all at once: it is bought in order. Microphone first, light second, camera third, and everything else once you actually have viewers. Almost everyone does it backwards and runs out of budget for what matters.
Short answer: a decent mic (from about $45) and a light (from about $30) will make you sound and look better than any expensive webcam. People tolerate mediocre video; nobody stays for echoey audio.
Below are three real builds: one at around $120 to start this weekend, one at around $380 for when you post weekly, and one past $800 that only pays off if you stream for a living. All of them run OBS Studio, which is free. Prices are approximate, because they shift every week.
The correct order: microphone first
There is a rule every gear guide repeats and it sounds wrong until you try it: audio drives retention more than video. Viewers tolerate a mediocre webcam; they close the tab over echo, keyboard noise on every keystroke or clipped voice.
The purchase order, always:
- Microphone. A cardioid condenser USB mic in the $45-120 range already sounds professional. It plugs in and works: no interface, no weird drivers.
- Light. A cheap ring light or a desk lamp bounced off the ceiling. A $35 light in front of a $60 webcam beats a $150 webcam in a dark room every single time.
- Webcam. Only after that. The Logitech C920 has been the standard for years and still passes.
- Accessories. A boom arm for the mic (stops desk thumps from getting in), a pop filter (fixes the harsh P and B sounds no software can repair afterward) and closed-back headphones so your game audio never leaks into the mic.
One detail that changes everything: hear yourself the way the audience hears you. OBS can route your own mic back into your headphones live. A week of listening to yourself teaches more than any tutorial.
Three builds by budget
Starter build: around $120
- Mic: Blue Snowball iCE or a FIFINE equivalent, around $45-50.
- Webcam: Logitech C920, around $65 (if money is tight, keep the mic and use your phone as a camera).
- Light: your desk lamp in bounce mode, $0-20.
- Software: OBS Studio, free.
With this you already sound better than the average starting channel. This is the build most people should begin with.
Mid build: around $380
- Mic: HyperX QuadCast 2 (around $120) or Rode NT-USB Mini (around $110); the Blue Yeti as the classic cheaper option.
- Webcam: a step-up C920 or the Elgato Facecam MK.2, $70-110.
- Light: an 18-inch ring light, around $40.
- Boom arm and pop filter: around $30 total.
- Closed-back headphones: HyperX Cloud Stinger 2, around $30.
This is the ceiling of usefulness for almost everyone. If you post consistently and have regular viewers, nothing here will hold you back.
Pro build: from $800 up
- Mic: Shure MV7+ (around $300), which takes both USB and XLR, or an SM7B with an interface (around $400 together).
- Light: Elgato Key Light or equivalent, around $200, with adjustable color temperature.
- Camera: Elgato Facecam or a mirrorless capture over HDMI.
- Control: a Stream Deck for scenes and shortcuts.
At this level you are not buying proportional quality: you are buying comfort and control. It makes sense when streaming is your job or when you run complex scenes daily.
If you stream from a console
PlayStation, Xbox and Switch stream differently, and here one part is mandatory: the capture card. From a PC, the game reaches OBS through software and you need nothing. From a console, you need a device that captures the HDMI feed.
- Bare minimum: a USB dongle around $25 that does 1080p60.
- Recommended: the Elgato HD60 X, around $150, with passthrough and reliable software.
- Shortcut: consoles can stream natively without a PC; it works, but you lose control of scenes and overlays.
If you stream with the console’s built-in app, apply the same rule: an external mic first, never the controller’s.
What you do not need at the start
The list of unnecessary purchases matters almost as much as the necessary ones:
- A Stream Deck with no viewers. It costs real money and only saves two seconds on shortcuts your keyboard already has.
- A dual-PC setup. Only when you have real bottlenecks, which does not happen when you start.
- A 4K camera. Twitch compresses to 1080p60 with 6,000 kbps as the usual ceiling. The extra money belongs in light.
- RGB before basics. LED strips do not fix bad audio or a face in the dark.
- An interface and an XLR mic from day one. That adds $100-150 before the first dollar of audible quality. A good USB rivals a cheap XLR; jump when you are genuinely held back, not before.
PC, internet and space
To play and stream at once you need a machine that survives both the game and the encoding. In 2026, 1080p at 30 or 60 fps is the real broadcast resolution: above that, the platform compresses and nobody notices.
The connection matters as much as the gear: at least 6 Mbps upload for stable 1080p60 (Twitch’s recommended 6,000 kbps plus headroom). 720p30 needs about 3. Measure your real upload, not the one on the brochure, and leave 20% free for everything else.
Space counts too. A tidy background, a clear wall and light at forty-five degrees from your eyes do more than any hardware upgrade. And if your room is loud, a blanket or rug behind the mic is free acoustic treatment.
Frequently asked questions
Can I start with my headset mic? You can, but it is the worst place to save. Headset mics are tuned for chat: narrow range and background noise. A cheap USB mic is a different sport entirely.
USB or XLR? USB, always at first. XLR needs an interface, a cable and configuration, and its real advantage appears once you have pushed the USB to its limit. Mics like the Shure MV7 take both, so you can start on USB and upgrade without replacing the mic.
How much do I actually need to start? Between $100 and $150 covers a mic, a basic light and free OBS. If you already have a PC that games, that is the range where channels grow; the rest is progressive luxury.
Does my phone webcam work? Yes, with apps that use it as a USB camera. It often looks better than a cheap webcam in low light. The weak point is the phone’s audio: do not use it as a mic.
When is it time for a Stream Deck? When you run scenes, alerts and switches every two minutes and are already hitting keyboard shortcuts without looking. Before that, it is an expensive ornament.
Buy in that order and you cannot fail
Building a setup is not spending: it is prioritizing. Audio keeps people, light keeps the face, camera is the last step. The streamers who look professional on little money did not buy cheap: they bought in that order.
If you keep only one idea from this article, make it this: spend first on being heard well. The rest follows on its own.
Are you putting together your first setup, or have you been upgrading it piece by piece for a while? 👇